Before wrapping a crochet blanket as a gift, take three useful photographs: the whole blanket, a close detail of the stitches and border, and a draped view showing how the fabric falls. Together they preserve more of your work than one tightly cropped picture. A phone and a clear space are enough to start.
The goal is a recognizable record of the blanket you made. You can enjoy styling it beautifully while keeping the yarn colors, shape and construction visible. These suggestions are for your own project record and sharing, not a promise of exact color reproduction on every screen.
Choose clear light and a quiet background
Etsy's product-photography checklist recommends diffused window light, simple backgrounds and avoiding a mix of daylight and artificial light. It also advises against filters that alter the item's colors. Those principles are useful for a handmade gift record even when you are not selling anything.
Try a clean floor, bed or table where the blanket can be supported. Pick a background you already have that lets you see the edges: a cream blanket may be easier to distinguish on a mid-tone surface than on a cream sheet. Remove objects that cover the work. Keep drinks, soil and snagging decorations away from the fabric.
Take three views with different jobs
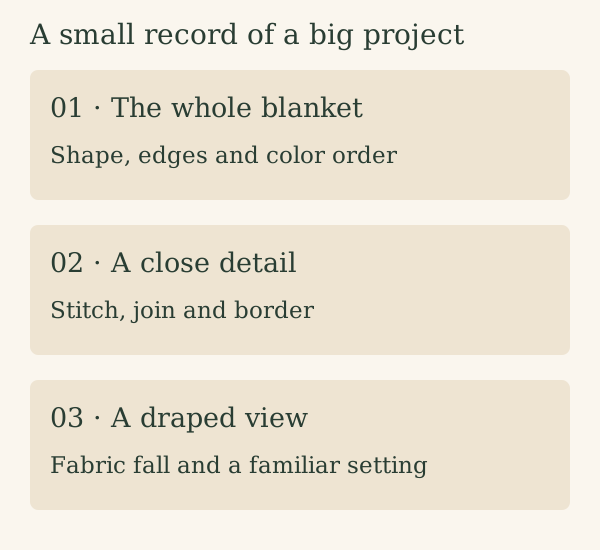
| View | What to include |
|---|---|
| Whole blanket | All four edges, the complete color order and a little space around the perimeter |
| Detail | A focused area where body stitches meet a join or border |
| Draped view | A supported fold over a chair or sofa, with enough fabric visible to understand it |
For the full view, lay the blanket naturally without pulling it into a different shape. Position the camera as squarely to the surface as you can from a stable place. If you cannot fit it all in safely, move to another surface or ask someone to help hold it; do not balance on furniture to get overhead.
For the detail, choose something you want to remember: a favorite color transition, the join you learned, or the border's final round. Check the saved photograph at a larger size before packing the blanket. A sharp label or background with blurry stitches is a reason to retake it.
A draped picture tells a different story from a flat one. Leave some loose folds so the fabric's fall is visible, and save the full view alongside it. If the reverse side has a different appearance or an interesting join, add a fourth photograph rather than trying to show everything in one frame.
Compare the photograph with the actual yarn
Look at the blanket and the image together. If cream looks strongly yellow or moss looks gray, try changing the light before making extensive edits. Keep the original file. If you adjust brightness or color balance, aim to match what you see in the fabric rather than making the palette more dramatic.
A photograph is not a substitute for your yarn record: cameras, lighting and screens can all change the appearance. Keep shade names and dye lots on the project sheet. If you later reuse the palette, those notes are a more useful starting point than sampling colors from the photograph.
Save the details you may want next time
Put the photos in one album or folder with a short note containing the pattern name, yarns, hook, finished measurements and completion date. Record the size with units; a chair or bed in a photograph is only a visual reference, not a measurement.
You might add “border in dark moss, four rounds” or “panels joined with visible seams” if those choices matter to your next project. Link your border-color notes or square layout to the finished pictures so you can compare the original plan with the result.
Finish the gift record before wrapping
Take the photographs before attaching a large ribbon or covering the blanket with tissue. Keep a copy of the care card with your project notes, and give the recipient the information needed for the actual yarns used. You can include a small photograph with a personal message if you like; it need not disclose a recipient's name or home when shared publicly.
Use your own finished-project photographs when describing what you made. Keep mood boards, digital palette sketches and generated inspiration separate from that record, so future you can tell an idea from the final blanket.
Keep planning your blanket
Examples illustrate the arithmetic; they are not physical project tests. Send a correction.