A useful crochet blanket project sheet keeps your creative idea beside the details you will need when you pick the project up again. Record the pattern, color plan, measured sample, body and finished sizes, yarn by color, and finishing decisions. Leave room for what actually happens as you make it.
Start with the blanket you want to make
Give the project a name that means something to you: “reading-chair throw” or “a gift in blue.” Note who it is for, where it will be used, and one or two qualities you want, such as a quiet palette or a bold border. These are your design preferences, not technical requirements.
Choose an anchor color and place two possible companions beside it. Sketch the order of stripes or the arrangement of squares. Use our three color palettes as starting points, then make a sample in your own yarn. A screen color is not an exact yarn shade.
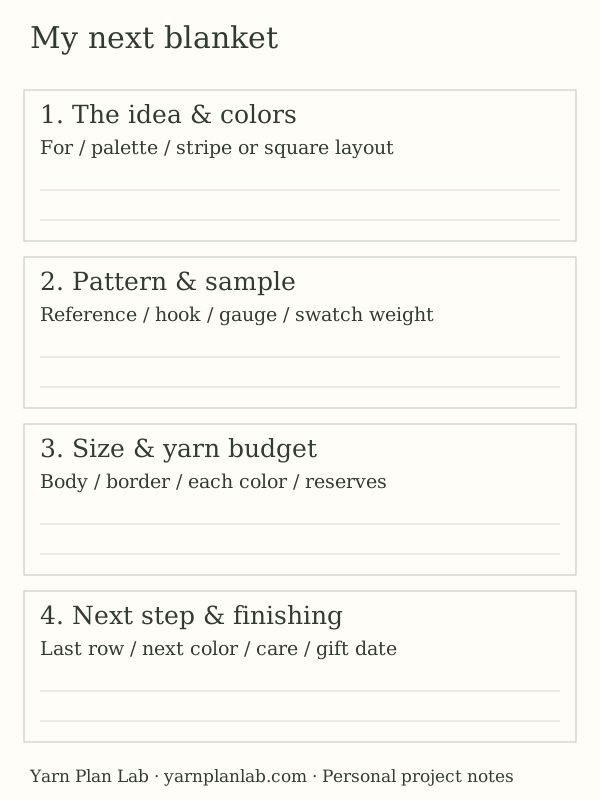
Download the blank project-notes template (SVG). You can open the image in your browser to print it, or copy the headings by hand. Your notes are not collected by this website.
Keep the pattern reference and sample together
Write down the pattern title, designer, link or book page, and the size you are following. Note the terminology used by the pattern, the hook size in millimeters, the stitch or row repeat, and any changes you choose to make. Keep the original pattern available rather than relying only on abbreviated notes.
The Craft Yarn Council’s pattern-reading guide explains how abbreviations and repeat instructions work. A project sheet is a companion to those instructions, not a substitute for them.
Record the measured sample dimensions, stitch and row counts over a stated span, and net weight if you are estimating yarn from it. Note whether you measured before or after preparing the sample as intended for the finished project. Label the sample so you can connect it to the right notes later.
Separate the body size from the finished size
Write both dimensions explicitly. For example: “body 100 × 120 cm; planned border 5 cm on every side; finished target approximately 110 × 130 cm.” This is an arithmetic example, not a tested pattern. For a square blanket construction, also record the grid and the measured effect of joins.
Use the blanket sizing guide to choose coverage. If a sample changes your gauge or a repeat forces a different width, update the body dimensions and recalculate before treating the earlier yarn figure as final.
Give each color its own budget line
Record the yarn name, color name or number, dye lot where shown, label grams and length, and quantity available. Keep the bands or a clear copy of their information. Then separate the base body estimate, allowance, joining reserve and border reserve. Mark which amounts already include an allowance.
For stripes, link your budget to the actual color sequence. For squares, add a line for joining yarn. A single total can hide a shortage of one important shade.
Leave yourself a clear next step
When you put the blanket away, note the last completed row or motif, which color comes next, and any decision still open. For a gift, include your hoped-for finish date and time for ends, assembly and preparation. Avoid assuming that a sample session predicts every later session at the same speed.
Keep the yarn’s care instructions with the project and pass them on with a gift. The Craft Yarn Council’s care-symbol reference helps interpret labels. If you combine yarns, check that their care instructions are compatible rather than applying one yarn’s instructions to all of them.
The sheet is complete when you can return to the blanket without reconstructing your decisions. Use the yarn calculator below for a measured body estimate, then record its inputs alongside the result so you know what the number means.
Use the calculator ↗Examples illustrate the arithmetic; they are not physical project tests. Send a correction.