If a blanket that should be rectangular is getting wider or narrower, first compare the stitch counts in a correct row and the current row. A changed count points you toward added or missing stitches. If the counts match, compare gauge and check whether the stitch pattern or yarn changed. The shape alone cannot tell you which happened.
Lay it down before deciding what to undo
Spread the blanket on a flat surface without stretching it. Compare widths at several rows, with the fabric in the same state each time. Mark the first area where you notice a change. Check your pattern: a chevron, shaped panel or center-out blanket does not follow the same rules as a plain rectangle.
For a gift or a throw you have already spent time on, a small check now can save a much larger decision later. Keep the last correct row marked while you investigate; you do not have to unravel anything just to count.
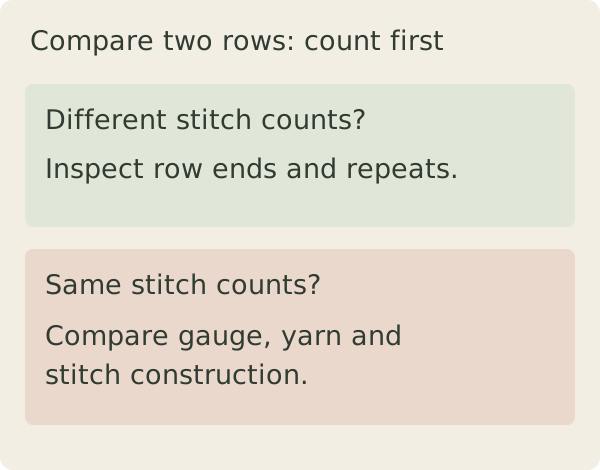
If the count changed, inspect the ends and repeats
The Craft Yarn Council’s pattern-reading guide recommends counting stitches at the end of each row and explains how patterns show their totals. Use your pattern’s counting convention, including any counted turning chain or chain spaces. Counting only the solid stitch tops in an open pattern may not give the stated total.
At each end, identify the first and last positions the pattern tells you to work. A turning chain is particularly worth checking. In the Council’s US double-crochet lesson, the turning chain counts as the first stitch and the next double crochet goes into the second stitch. Your pattern may specify a different method. Follow its rule consistently rather than assuming every turning chain counts, or none do.
If you find extra stitches, look for an unintended second stitch in one position or a counted turning chain plus an extra stitch beside it. If stitches are missing, look for a skipped end position or an omitted part of a repeat. These are possibilities to inspect, not a diagnosis from appearance alone. Compare repeat groups across the whole row too; mistakes need not occur at the edges.
For a simple example, a row intended to contain 120 stitches now has 124. That is four extra stitches, but it does not tell you which four positions caused them. Compare earlier rows until you find where the total first changed. Adding four decreases in the next row would restore the number without removing the wider section already made.
If the count matches, compare stitch size
Measure the same number of stitches over comparable sections, away from distorted edges. At a uniform gauge of 12 stitches per 10 cm, 120 stitches span 100 cm. At 10 stitches per 10 cm, the same count spans 120 cm. This arithmetic illustration excludes separate borders and edge stitches; it shows why equal counts do not guarantee equal widths.
Check whether you changed hook, yarn, stitch construction or the way you hold the work. The Craft Yarn Council’s hook guidance recommends checking a sample against the pattern gauge. Use a fresh sample to explore a change before applying it to the blanket. The gauge guide explains why a changed fabric also affects your yarn plan.
Choose a correction that matches the problem
When you have located an unintended stitch-count change, one option is to undo back to the last correct row and rework the affected section. Confirm the placement rule first. If you choose to keep the variation, note the actual dimensions and consider whether the result still suits its intended use; do not assume a border will make a substantially tapered body rectangular.
For a gauge change, decide which section has the fabric you want and sample a consistent approach. Avoid switching hooks solely to disguise a counting error. If only the foundation edge differs, examine that edge separately instead of concluding that every later row is wrong.
Make the next check easy
Mark the first and last counted positions, check totals after rows, and record repeat groups in your project notes. Once the width is settled, use the row-length guide to plan where to stop. The calculator below helps choose valid stitch counts for a deliberate resize; it cannot identify or repair misplaced stitches.
Use the calculator ↗Examples illustrate the arithmetic; they are not physical project tests. Send a correction.